Stuck Windows 10 Update
Ideally, your computer should be downloading and installing Updates silently in the background, allowing you to use your computer without any interruption. However, this may not always happen and many frustrated users have reported about Windows Update being stuck forever at Working on updates, Don’t Turn off your computer message. In such cases, Windows update can get stuck at 0%, anywhere from 55% to 99% and sometimes it can it shows as being stuck at 105%!
1. Force Shut Down and Restart
Major Windows Updates are can be quite large in size and and it takes a long time to download and install major Windows updates on your computer. Hence, it is always a good idea to be patient and give your computer enough time to download and install the updates. However, if your computer is stuck forever at “Working on updates” message, it is time to Force Shut down your Computer by pressing and holding the Power button. Restart the computer after 10 minutes and see if it boots up as usual to the Login screen. If it does, you can follow the methods as listed below. If your computer does not go to the Login screen and starts updating again, you will have to boot your computer in Safe Mode and try to fix the problem.
2. Check For Updates
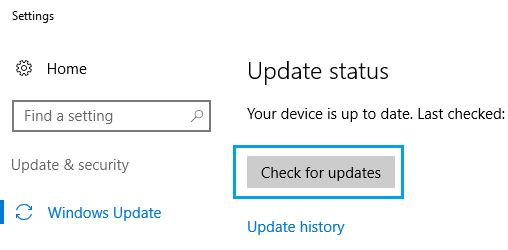
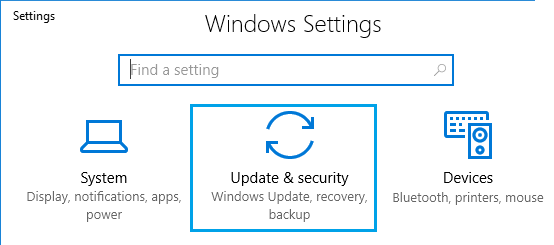
After restarting the computer, go to Settings > Update & Security > and click on Check For Updates.
Hopefully, this time your computer should be able to Install the update.
3. Use The Troubleshooter
Follow the steps below to fix Update problems on your computer using the built-in Troubleshooter as available on your computer. 1. Go to Settings > Update & Security
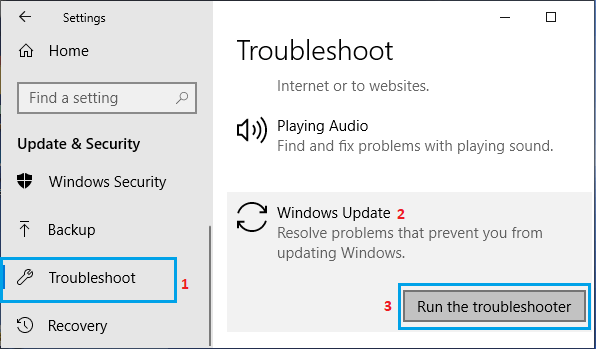
2. Next, click on Troubleshoot > Windows Update > Run Troubleshooter.
- If prompted, enter your Admin Password.
- Wait for Windows to find and fix problems related to Windows Update on your computer. Most of the times the Troubleshooter is able to identify and fix Windows Update problems.
4. Delete Windows Update Cache File
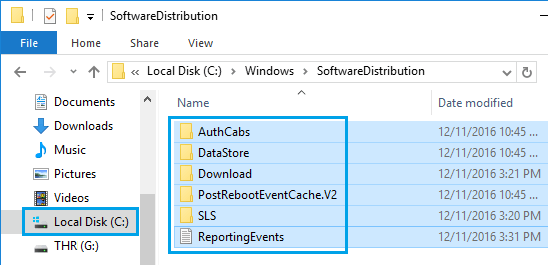
It is possible that Windows Update problem on your computer is due to Windows Update Cache folder being filled with old update files. This issue can be fixed by going to C:\Windows\SoftwareDistribution and deleting all the Files and Folders in this location.
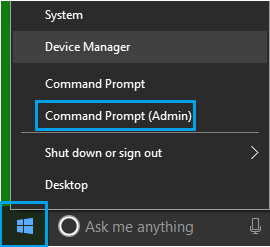
Right-click on the Start button and click on Command Prompt (Admin).
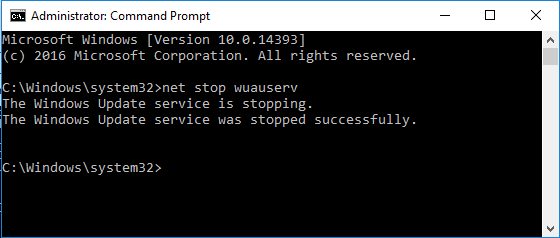
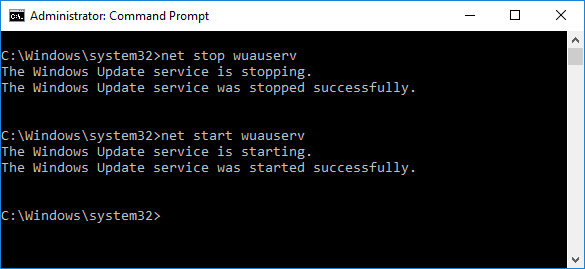
In the Command Prompt Window, type net stop wuauserv and press the Enter key. This command will stop the Windows Update Service on your computer.
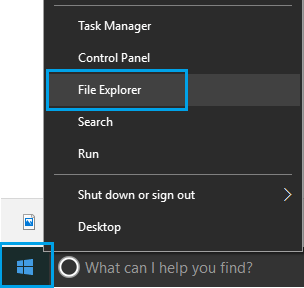
Note: Do not close the Command Prompt Window, leave it open and move to step 3 below. 3. Next, right-click on the Start button and click on File Explorer
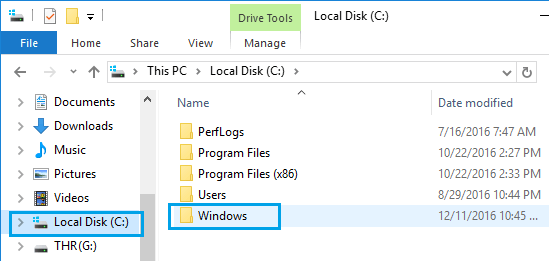
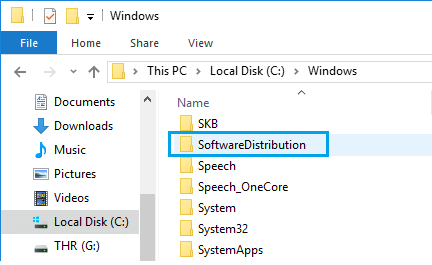
In the File Explorer window, navigate to This PC (Or Local Disk (C:)) > Windows Folder.
In the Windows Folder, open SoftwareDistribution Folder.
Note: Just to be on the safe side, copy “SoftwareDistribution” folder to your desktop as a backup 6. In SoftwareDistribution Folder, select and Delete all Files located in SoftwareDistribution Folder.
Note: These are just temporary files and Windows 10 will create them again from scratch. 7. After deleting Files in SoftwareDistribution folder, restart Windows Update service by typing net start wuauserv in the Command Prompt Window and pressing the Enter Key.
After this go to Settings > Update & Security > Windows Update and click on Check for Updates button.
Hopefully, this time you should be able to install Updates on your computer.
How to View Installed Updates in Windows 10 How to Turn Off Automatic Updates in Windows 10
